

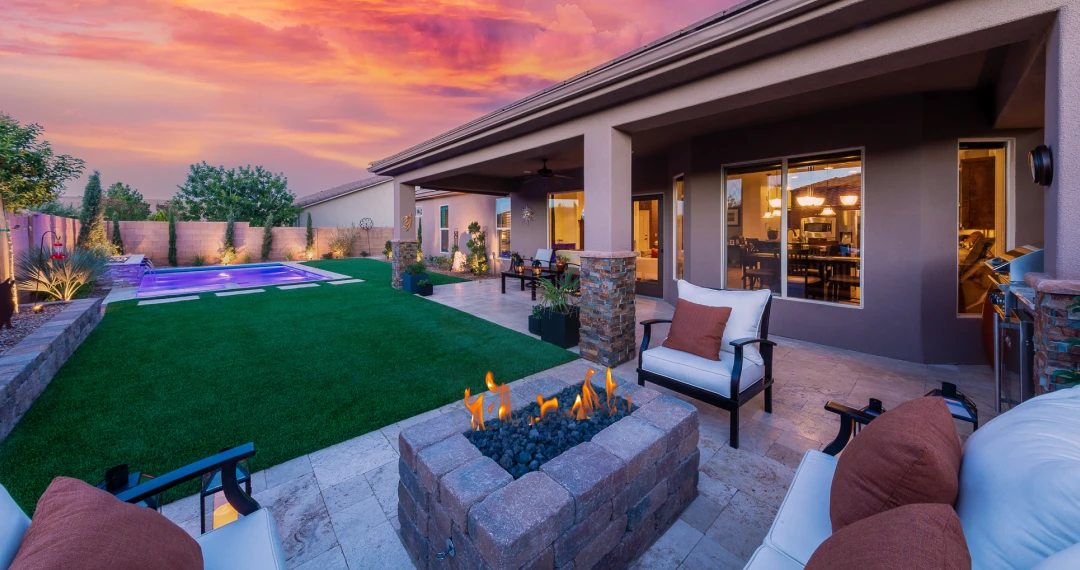
Outdoor low voltage lighting is an essential aspect of landscape design, enhancing the beauty, safety, and functionality of your outdoor space. It beautifully illuminates pathways and gardens, adding a layer of security and a gentle illumination to your home. This article provides a comprehensive guide on installing low voltage landscape lighting and offers tips for selecting the right lighting fixtures for your landscape. Whether you are a DIY enthusiast or prefer professional installation, this guide equips you with the knowledge to make informed decisions and transform your outdoor space.
Low voltage lighting operates at 12 volts, making it safer and more energy efficient than traditional line voltage systems. This system is ideal for outdoor lighting because it minimizes electrical shock risks and simplifies installation.
Key Components
A low voltage lighting system consists of:

Determine your objectives:
Identify areas needing illumination:
Selecting the right fixtures is key:

This includes a low voltage transformer, low voltage cable, lighting fixtures, wire connectors, a shovel, and a voltage tester.
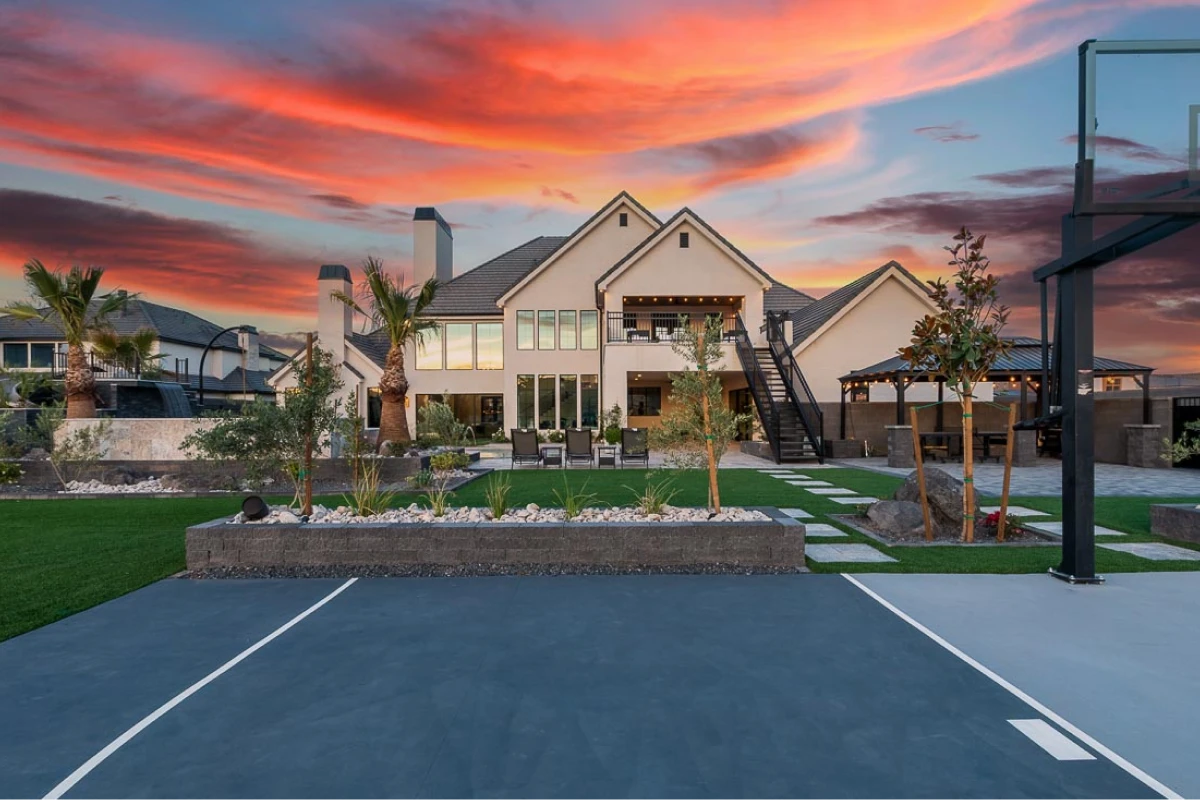
Place the transformer in a dry, accessible location, at least 12 inches above ground and plugged into a GFCI-protected outlet.

Run the wire from the transformer to each fixture, burying it 6-12 inches deep.

Use wire connectors to attach the wire to the fixtures. Ensure the fixtures are stable and correctly positioned.
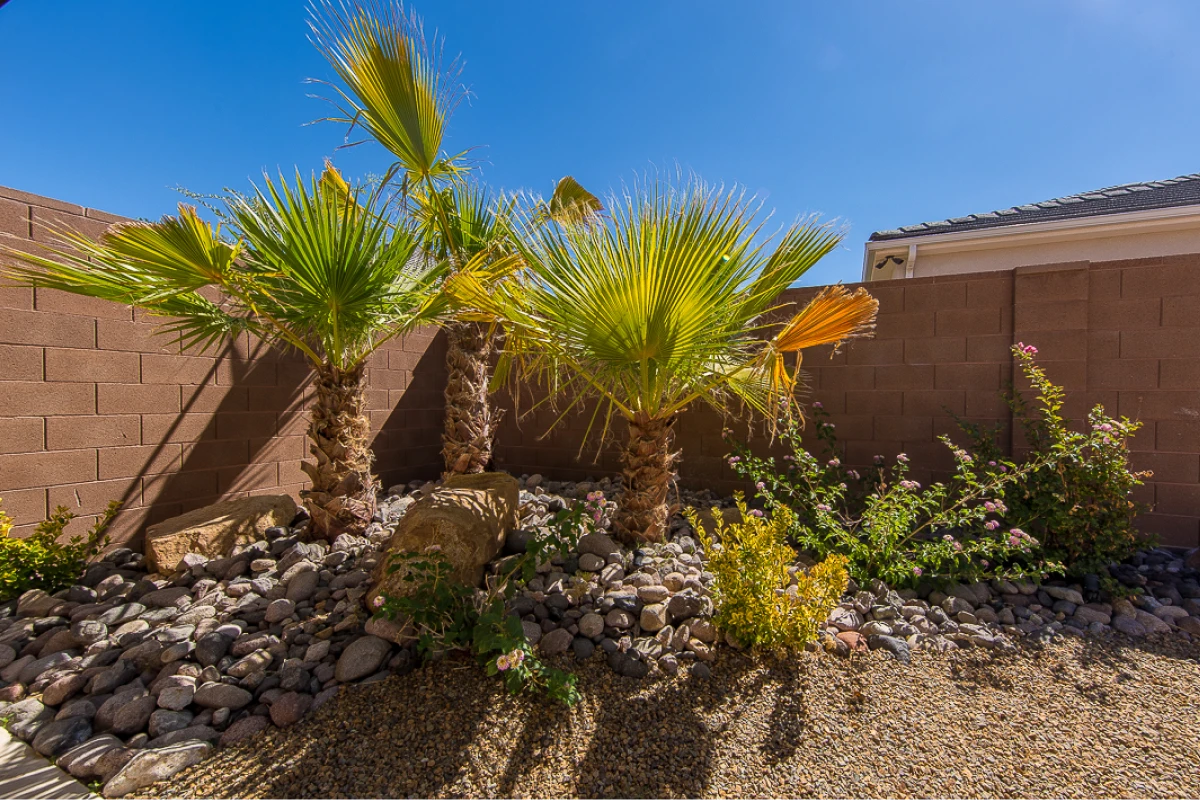
Before burying the wires, test all fixtures to ensure proper illumination. Adjust as needed.
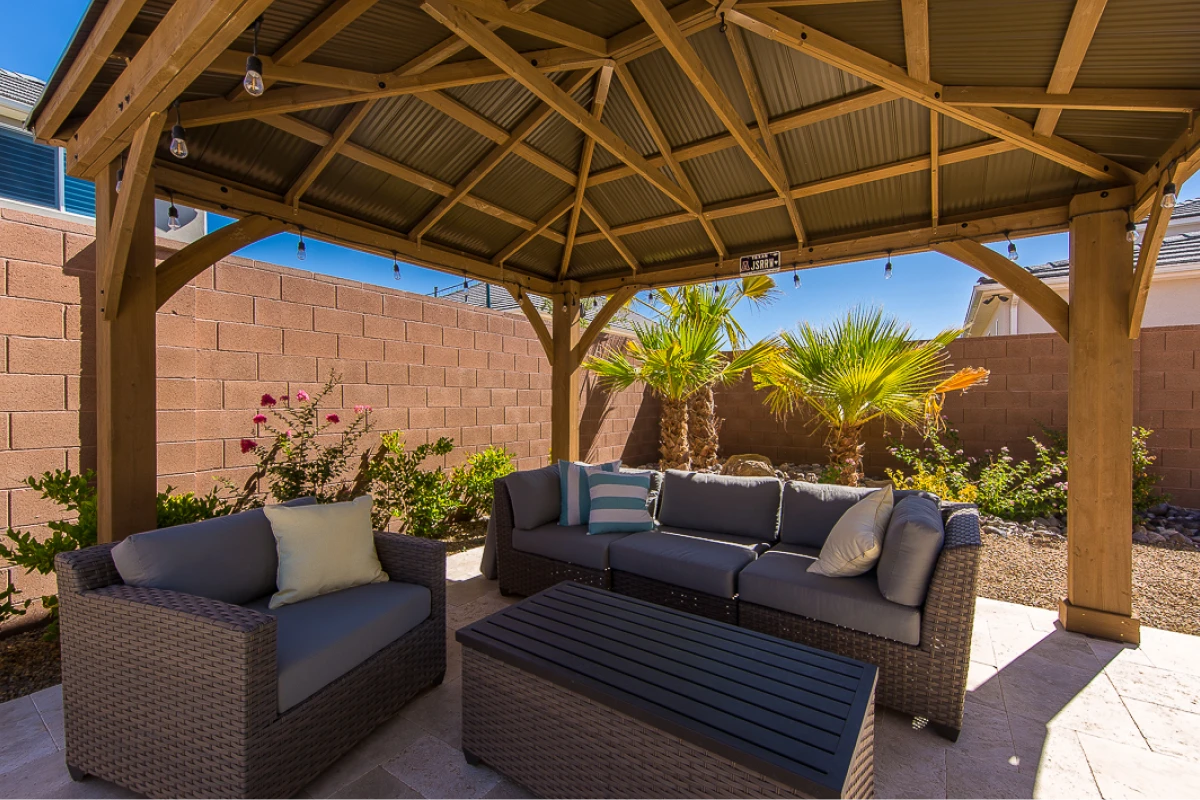
Clean fixtures with a soft cloth and mild soap to maintain brightness.
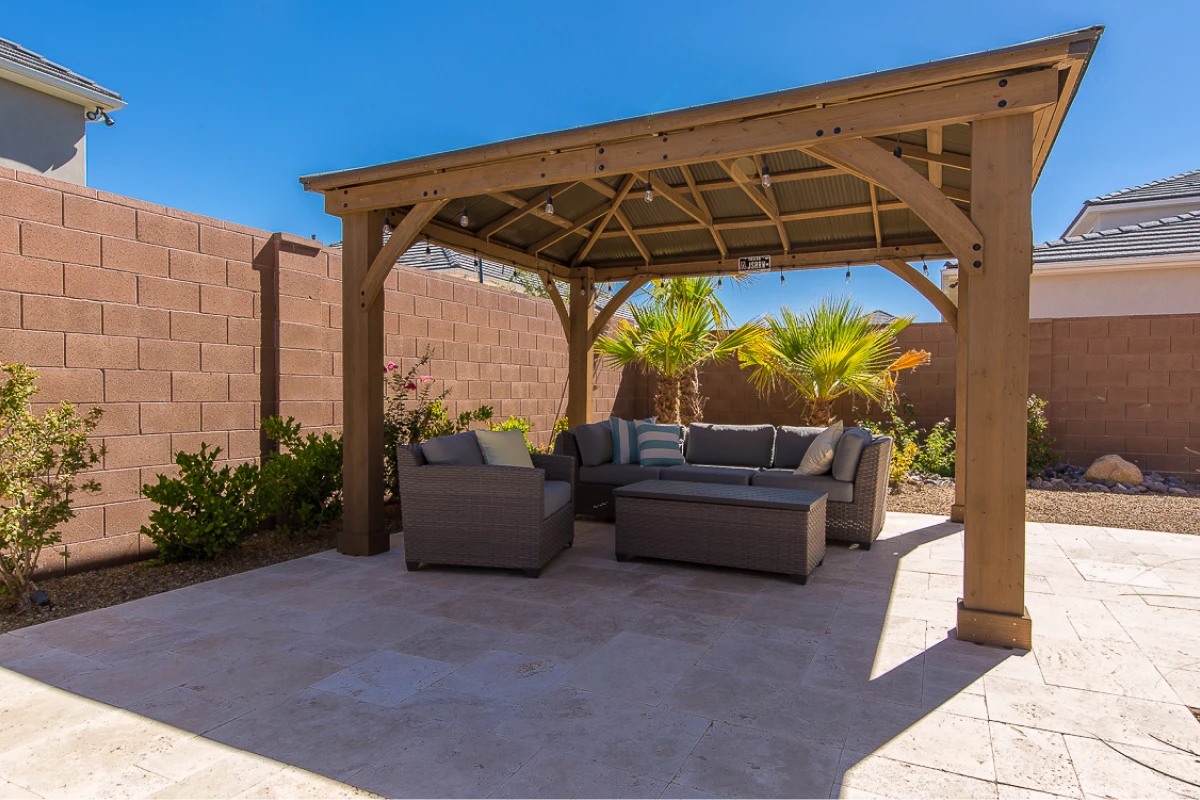
Inspect connections regularly for security and to prevent corrosion.

Replace burnt-out bulbs promptly. Consider LED lights for their longevity and energy efficiency.
EcoGreen Landscaping & Pools provides expert illumination solutions, enhancing your outdoor space with quality and care. Let us transform your outdoor living space into a nighttime oasis. Contact EcoGreen Landscaping & Pools today to begin your journey with Southern Utah’s landscaping experts!